
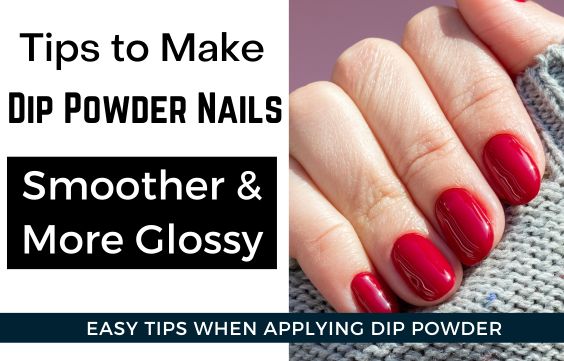
7 Tips to Always Make Dip Powder Nails Smooth & Shiny
From my years of experience working with dip powder I have noticed that 2 of the biggest issues a lot of individuals have are:
- Your dip nails not being glossy enough with a more matte-like finish.
- Your Dip Nails not having an even and smooth finish.
Both of these issues are connected and they can easily be prevented so that you can have nice smooth and glossy dip manicures. These are my 7 tips to have smooth and shiny dip nails.
Note: Even if you want matte nails these tips will still help you have more smoother and durable dip nails. All you need to do is use a matte top coat instead of a regular glossy one.
Also check out my article on 8 Tips to Make Dip Nails Last Longer – No More Lifting
1- Correctly Apply The Dip Activator
Using the dip activator correctly and in the right amount is one of the most important steps you need to do to ensure your dip nails look glossy and have a nice smooth finish. To do so you need to:
1- Apply a generous amount of activator. You need to ensure that the entire dip manicure is covered completely and soaked with the activator.
If not the dip manicure will likely not have a solid smooth and glossy finish. This is because the activator is what cures the dip powder and melts it together to form a solid manicure.
2- Allow the Dip Activator to Dry Completely Before Buffing & Using the Top Coat. Once the Dip Activator is applied I usually leave it to dry for 3 minutes or so and then buff and applying the Top Coat.
If you don’t let the activator dry completely and instead proceed to buff and then apply the top coat, your dip nails will not fully cure and from my experience will have a milky and cloudy appearance instead of its natural glossy look.
Finally, I usually wipe the dip nails with a cotton pad before applying the top coat, to remove any excess activator that may not have dried out.
Related Articles –
What is a Dip Activator- Best Brands & Alternatives to Use
Common Dip Powder Questions Answered & Mistakes to Avoid
2- Always Remove Excess Powder that Didnt Adhere
After applying each layer of dip powder you need to use a brush to remove any dip powder that didn’t adhere to the base. If you don’t do this then some areas will be bulky and you won’t have a smooth finish.
Related Articles:
5 Best Brands of Dip Powder Kits- Professional Manicures
How to Fill Dip Nails at Home- Easy DIY Methods (W/Video)
3- Ensure You Buff Your Dip Nails Correctly
Once the activator has been applied you will need to buff your nails with a fine grit nail file. This will remove any bumps and unevenness from the dip nails and also allow the manicure to have a glossy finish once the top coat is applied.
- I usually use a 180 grit nail file first to gently remove any bumps
- Then do a final buffing with a 240-grit file to make it extra smooth.
You can click here to see a great 180/240 grit nail file on Amazon.
Related Articles:
Best Clear Dip Powders – Benefits & How to Use
Dip Powder on Short Natural Nails- Benefits & How to Apply
4- Properly Clean Your Nails After Buffing
After buffing your nails you need to wipe away any leftover residue from the filing. If you don’t the manicure wont have a smooth finish.
I usually wipe them down with a cotton pad soaked in rubbing alcohol. This will give you a nice clean finish to apply the top coat. Just ensure the alcohol dries before applying the top coat.
Related Articles:
Dip Flu -Is it Dangerous, How to Spot, Treat & Prevent
How Much Dip Nails Costs & Price to Fill & Remove Them
5- Use a Very Glossy Top Coat
One of the easiest things you can do to ensure that your dip nails have a nice glossy and shiny finish is to apply a high-quality top coat.
I personally prefer using UV-cured gel top coats when working with dip powder. I have found that they are durable and have a natural glossy sheen. But you will need:
- A UV lamp to cure them
- You will need to roughen up your dip powder nails with a 180-grit nail file before applying the gel top coat. Check out the video below to see how it’s done.
- Also, ensure you wipe off the sticky wet layer after curing.
You can click here to read my recommended brands of top coats for dip manicures.
Video of How to Use a Gel Top Coat with Dip Powder
Related Articles:
Is Dip Powder Good for Nails- Side Effects, Pros & Cons
Dip Nails Vs Gel, Polygel & Gel Polish: Which is Better
3 Easy Ways to Do Dip Powder Nail Extensions
6- Ensure You Apply the Base Evenly
When applying the base you need to ensure that the entire nail is completely covered. If you miss spots the dip powder will have an uneven distribution and some areas will get less powder and cause unevenness and bumps.
Related Articles:
What is a Dip Base Coat- Best Brands & Substitutes
2 Ways to Easily Remove Dip Powder Nails Without Acetone
Dip Powder vs Acrylic Nails: Differences & Which is Better
7- Use High-Quality Dip Powder
I always use Dip Powder that is of good quality and by this, for me this means that the dip has great pigmentation and is finely milled making them smaller which increases the surface area for the activator to act on.
This will allow the activator to easily cure and blend the dip powder to give a more glossy and solid look with a smoother finish.
If you use a brand of dip powder that have larger powder they will have less surface area for the activator to act on and thus is harder to cure and blend together. This is why I usually stick with reputable brands like Kiara Sky when doing dip manicures.
You can click here to read my recommended brands of dip powder.